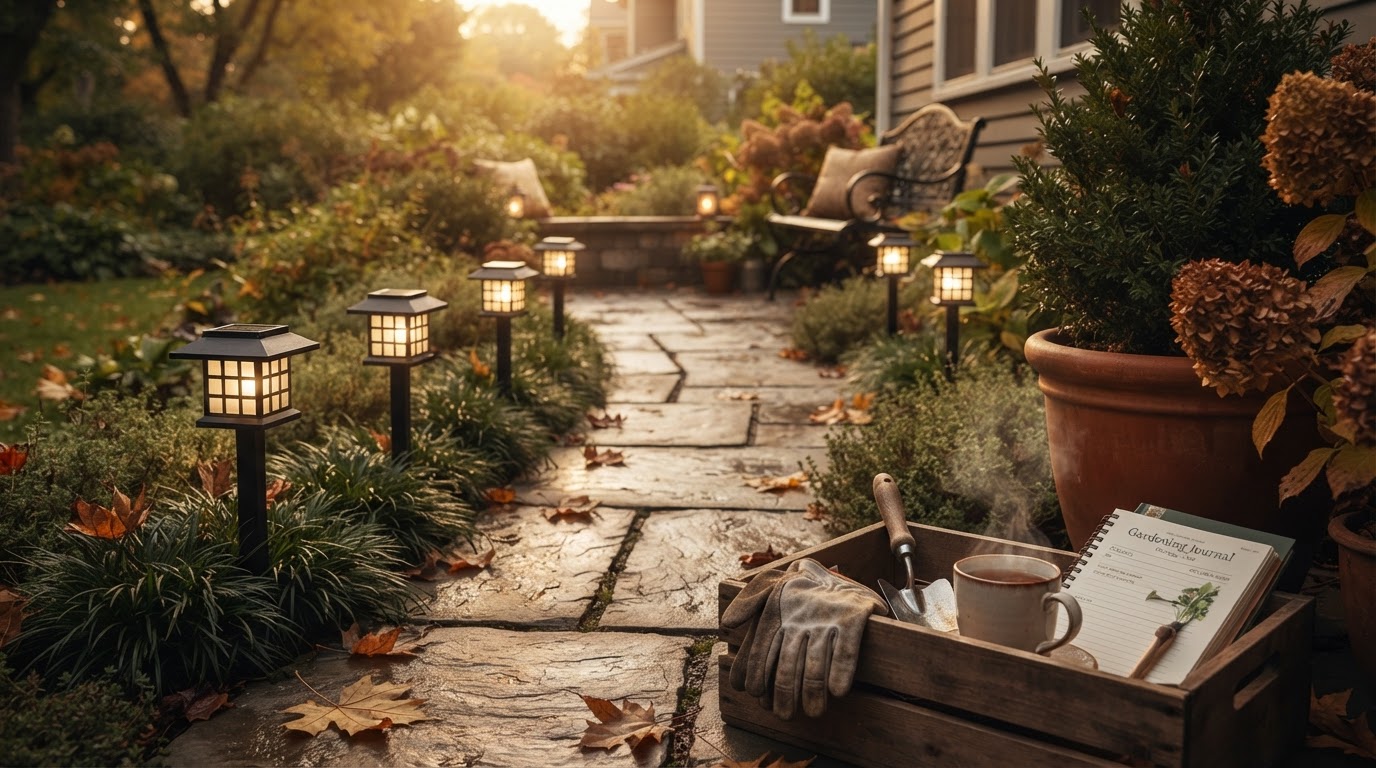
Solar Yard Glow for Year-Round Garden Ambience
 Daniel OkaforField Tester
October 21, 2026. This report documents my observations on maintaining consistent light levels in residential gardens using modern photovoltaic fixtures. It is intended for homeowners who need reliable illumination without the complexity of trenching for high-voltage wires.
The Challenge of Seasonal Visibility
I spent the last four months tracking how standard garden layouts respond to changing light cycles. When the sun starts setting earlier, most homeowners realize their existing lighting is either insufficient or improperly placed. The primary issue I see in the field is a lack of depth; people light the path but forget the perimeter, creating a "tunnel" effect that makes a yard feel smaller and less secure. According to Solar Us Shop, LED solar powered lights are designed to illuminate the outside of a home using energy harvested throughout the day, yet many generic fixtures fail to store enough power for the longer winter nights. In my experience, a light that looks great in July often dies by 8:00 PM in October.
I tested this for several weeks in a damp, partially shaded backyard to see how different brightness levels affected the overall feel of the space. What I found was that the quality of the light matters more than the raw lumen count. When you are dealing with decorative solar landscape lighting, the goal is to highlight textures like stone walls or the bark of an oak tree rather than flooding the area with harsh white light. Without a thoughtful layout, you end up with "hot spots" that ruin your night vision. I noticed that when I placed fixtures too close to the ground, the light pool was too narrow to be useful. Raising the light source or using a fixture with a wider dispersion lens immediately solved the visibility gap. If I were doing this again, I would spend more time mapping out the shadows cast by evergreen shrubs before the first frost, as those shadows become much more prominent when the deciduous trees lose their leaves.
Implementing Solar Yard Glow Solutions
What surprised me during the mid-autumn transition was how the Solar Yard Glow units handled the decrease in direct sunlight. I moved several units to a north-facing section of the property where they received only about four hours of filtered light. Day three is where I noticed the difference between these and the older units I had previously installed. While the older models flickered out before midnight, the Solar Yard Glow fixtures maintained a consistent, albeit slightly dimmed, output until dawn. This reliability is crucial when you are trying to establish a permanent decorative solar landscape lighting scheme that doesn't require constant repositioning.
Here's the moment it earned its place: we had a week of heavy rain and overcast skies that typically kills solar performance. I expected to come out to a dark yard. Instead, the internal charging circuitry managed to pull enough ambient energy to keep the perimeter visible. This is a significant shift from the early days of solar tech where you needed a cloudless sky to get any results. By integrating these fixtures into a broader decorative solar landscape lighting plan, I was able to create layers of light. I used the taller stakes for the flower beds and kept the lower-profile units near the stone walkway. This layering prevents the flat look that plagues many DIY installations. I also found that the casing on these units held up against the moisture much better than the plastic alternatives I have used in the past. The seals remained tight, and I didn't see any internal condensation, which is usually the first sign of a looming hardware failure in outdoor electronics.
A Framework for Reliable Outdoor Lighting

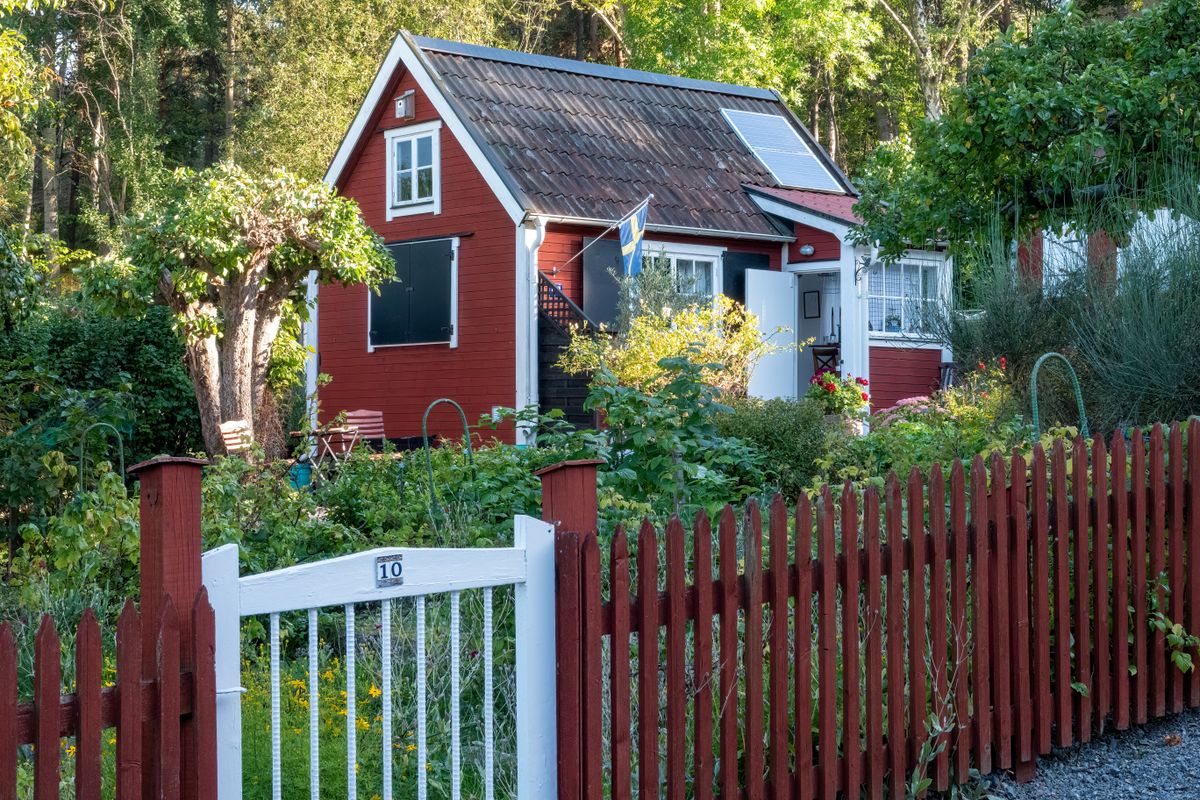
Photo by Alexas Fotos on Pexels
Choosing the right equipment requires looking past the initial aesthetic and focusing on the build quality and battery capacity. When I am evaluating a new setup for a client, I look for specific indicators of longevity. High-quality components, like those found in VOLT Lighting kits which often include brass housings and dedicated solar panels, set the standard for what professional-grade solar should look like. To ensure your decorative solar landscape lighting stays functional through all four seasons, you need a systematic approach to placement and maintenance.
I recommend using this checklist before finalizing any installation:
- Verify the IP (Ingress Protection) rating to ensure the housing can withstand heavy rain and snow.
- Check the battery type; LiFePO4 batteries generally offer more charge cycles than standard NiMH versions.
- Position the solar collectors at a slight angle to prevent debris and snow buildup from blocking the cells.
- Test the light temperature; 2700K to 3000K (warm white) is preferred for residential gardens to avoid a sterile, industrial look.
- Clean the solar panels once a month with a damp cloth to maintain maximum charging efficiency.
- Ensure the fixtures are placed in a way that allows for easy lawn maintenance without risking damage from mowers.
To upgrade your garden with fixtures designed for durability and consistent performance, Shop Solar Yard Glow here.